Showing posts with label diy. Show all posts

Wednesday, July 04, 2012

DIY Spa Treatments for At-Home Pampering


I've realized that my attention span makes blogging consistently a real challenge. While I may not be posting as often as I would like, I have definitely been experimenting with DIY recipes. My boyfriend and I are using almost all our own homemade skin care products.

My skin care routine:
  • Oatmeal Cleanser
  • Vitamin C Toner
  • Face Oil Blend or Moisture Balm Lotion
  • Arrowroot Deodorant

My hair care routine:
  • Apple Cider Vinegar Hair Rinse
  • Nourishing Hair Oil
  • Aloe Styling Spray

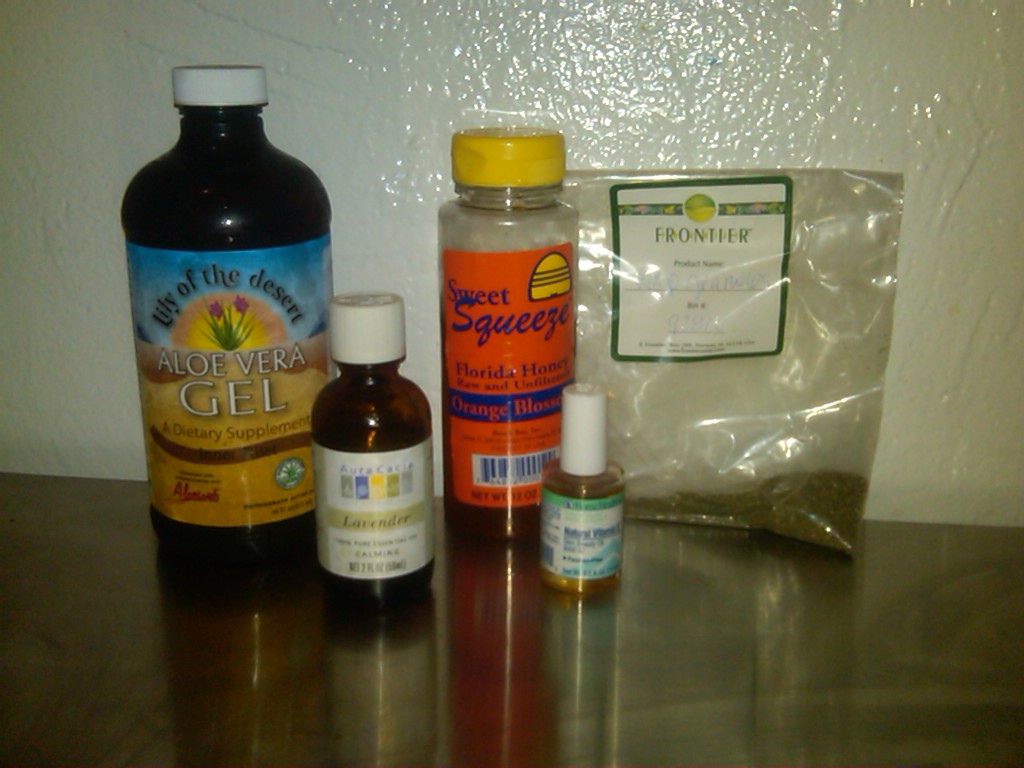
I am still using some store-bought natural skin care products. Right now, I'm a big fan of the following:
To show you I really have been working hard, I am sharing my green beauty spa-style pampering routine. When I need a little TLC...

DIY Spa Day
  1. Inspiration: Fresh Cucumber Mojito Salt Scrub from @FNWL
    Foot Treatment: I like to start with a foot treatment. I first soak my tootsies in an apple cider vinegar and lemon bath. I mix 1/2 cup vinegar and the juice of 1 lemon with 1 gallon of water. I soak my feet for about 15 mins. The vinegar works great at softening rough, calloused skin. Then I scrub using a foot file and follow that a with coconut oil sugar scrub. I mix organic sugar with coconut oil until it forms a nice paste. You can use sugar or salt for a scrub, either of which will leave the surface of your feet feeling smooth and soft.

  2. Hair Treatment: First I moisten my hair with a little bit of water and apply a penetrating hair oil. I blend 6 parts coconut oil to 1 part olive oil, castor oil and emu oil. These oils all have beneficial properties for hair, especially the coconut and olive oils which penetrate the hair shaft making them great for repairing hair damage. I leave the oil blend on my hair for 30 mins. I like to just rinse it off because it leaves behind a nice residue on my fine, dry hair, but you can follow the treatment with your regular shampoo and conditioner if you have oilier hair.

  3. Face Mask: I make an oatmeal and kaolin clay cleanser for daily use, but I adapt this recipe to make a mask when I need extra attention on my face. I use a good quantity of the powder cleanser blend and mix it water and a few drops of my Vit C Toner to make a paste. I apply it to my face and leave it for about 15 mins. It works so well at absorbing dirt from your skin and leaves your face feeling softer and clearer.
These three steps always leave me feeling renewed and refreshed. My recipes aren't perfect, so I recommend searching for tried-and-true DIY recipes that fit your skin type and/or the climate in your area. For inspirations, check out my Favorites section where I link to my favorite sources for DIY recipes.

I am way more active on Twitter @floraesthetics and on facebook.com/floraesthetics, so follow me for more DIY beauty ideas!

Saturday, March 17, 2012

DIY: Aloe Vera Face Mask


I follow a bunch of great beauty blogs and my favorite posts are usually about DIY recipes for homemade skin care. I've spent the past two years learning how to make homemade beauty products, and it is not easy. When I find DIY recipes that require only a few ingredients and are easy to make, I get excited.

Today, I tried an Aloe Vera Face Mask recipe from Revitalise Your Health.

The ingredients were simple and made total sense:
  • 1 tablespoon of powdered seaweed (kelp)
  • ½ tablespoon of Aloe Vera gel
  • ½ tablespoon of raw honey
  • 1 capsule of vitamin E
  • A few drops of essential oils (I used 3 drops of lavender)

The instructions were quick and easy too:
Combine all ingredients together and mix well, squeeze out contents of vitamin E capsule and add to mixture. Apply mixture to face, throat, and neck. Leave on for approximately 20-30 minutes. Rinse using warm water.

And the the verdict:
This recipe gets an A+ for simplicity of ingredients and preparation. It literally took me less than 10 minutes to gather the ingredients, make the recipe and apply it to my face.

However, I have to take some points off for application. It was so messy! The mask clumped together and did not spread evenly on the skin. It was actually a challenge to get this much of it on (see picture on right). And I recommend applying the mask before you clean your bathroom because it was all over my sink. I can overlook all of this because making homemade beauty products is a messy business overall.

The removal part of the process was a little better. It took a while to come off, but it was less messy than the application part. Caveat: You will have kelp pieces all over your hair if you apply it near your hair line.

As for the results, my skin definitely felt as if it had a mask treatment. It was softer and smoother, but it was also very red. I don't have overly sensitive skin, but if a product causes a reaction, it is very visible. The skin around my nose and cheeks was definitely red, but it didn't feel irritated at all. Weird!

Instead of applying moisturizer right away, I waited a few minutes to see how my skin felt after it dried. The texture of my skin still felt good as did the level of moisture. I didn't have that dry, tightness that I usually feel after using most face masks.

After about 10 minutes, I checked again for redness. It had reduced significantly to only a few red blotches, so I applied a light layer of emu oil, known for reducing inflammation. My skin soaked it up.

Overall, the Aloe Vera Fask Mask was a great little DIY project. It was easy to use and left my skin feeling smooth and pampered. Beware, however, if you have sensitive skin.