
What was I looking for? Texture, consistency, ease of use, application, and cleaning power. This recipe has it all and requires only four inexpensive ingredients that are available at most stores.
The cleansing grain recipe beings with oat flour as the base. Oat flour has a finer texture than rolled oats but all the same benefits. It soothes and heals the skin, reduces inflammation, and provides gentle exfoliation to remove dead skin cells. It is also very absorbent, a must in an all-natural face cleanser.
Then I incorporated ground adzuki beans (a.k.a. azuki beans). Adzuki beans are a food staple in Japan and have also been used in skin care for centuries. The ground beans are the coarse exfoliant in this recipe. I like them because the texture of the powder is softer and gentler than more mainstream ground walnut shells or apricot kernels. The adzuki beans also turn the mixture milky, which I really like in this recipe.
The third ingredient is bentonite clay. Bentonite is the cleaning powerhouse in this recipe. The benefits of bentonite clay are well documented. Bentonite heals wounds, absorbs oils, removes impurities, improves circulation, combats acne, exfoliates, and more. Bentonite is also compatible with most skin types, including sensitive skin.
Finally rice flour provides microdermabrasion texture without being overpowering or irritating. Rice flour has a reputation for brightening skin and was used by Geishas in Japan to keep their faces smooth and lighter in color. I like it for its texture, but I'm happy to know it has been used as a DIY ingredient in skin care for generations.
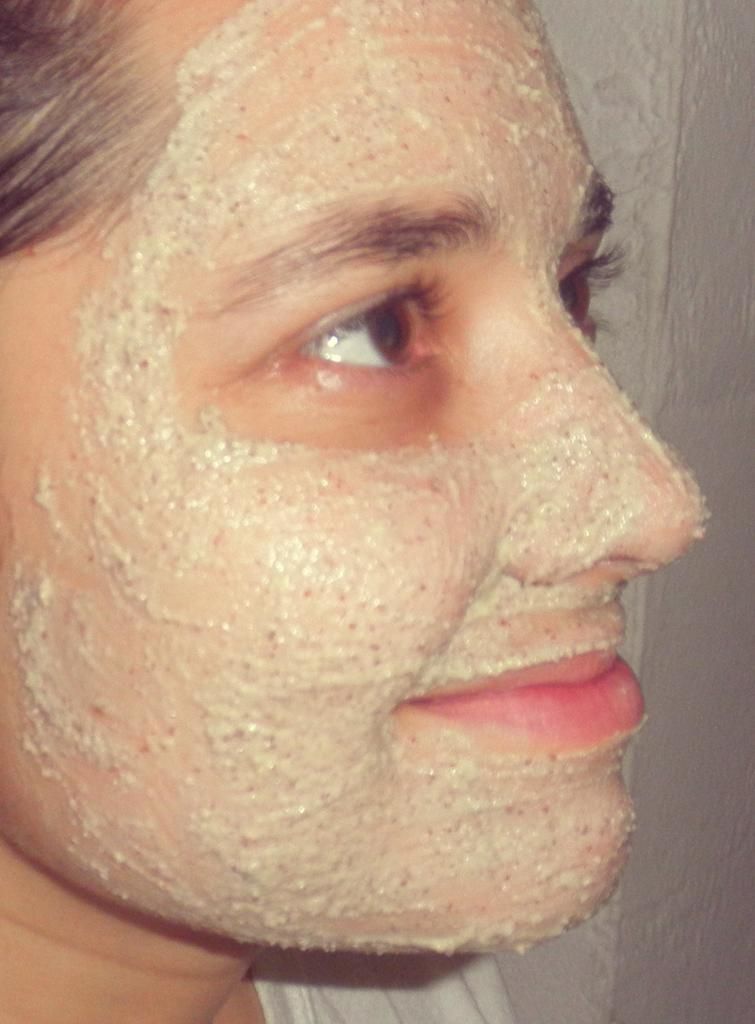 |
| Daily Cleansing Grains in action. |
DIY: Daily Cleansing Grains:
5 parts oat flour
3 parts adzuki bean flour
2 parts bentonite clay
1 part rice flour
First, grind the adzuki beans in coffee grinder until they are a fine powder. Using a fine mesh strainer, sift the ground adzuki beans and discard coarser pieces (see Adzuki Body Scrub recipe for using coarse adzuki). Depending on your preference, you can leave the adzuki powder a little coarse or you grind and sift the powder a second time to get a fine, even texture. I do it twice.
Then combine all ingredients in a bowl and mix well. To get a uniform consistency, I grind and sift the cleansing grain mixture one more time, but this is not necessary. Store the cleansing grains in a clean glass jar or spice shaker with a sifter top.
I make about 6 oz by replacing "parts" with "tablespoons" in the recipe, but I recommend trying out a small batch first. You can adjust the ratios or add new ingredients as you experiment with new batches.
To use, mix 1 to 2 teaspoons of the grains with warm water in a small bowl. I use a small glass votive candle container. Stir the mixture into a paste and gently massage onto your face. For a mini facial, leave the grains on your skin for 1-2 minutes. Then rinse off with warm water. It sounds simple, but I find that people can be intimidated by the prospect of "mixing" their cleanser to the right consistency. I never get it exactly right. And sometimes, that's my favorite part.
For example, making a drier mixture makes the cleansing grains more like a mask. I work it gently into my skin in layers and by the end I have this thick, even mask. I let it dry for 5-10 minutes before rinsing it off.
When I want a more milky cleanser, I add more water than usual and let the mixture sit for 2-3 minutes. The adzuki bean releases milky goodness and the texture becomes almost fluffy. With this wetter mixture, it works more like an exfoliant than a cleanser.
I also have to address the idea that exfoliation should be done only one or twice per week. Having worked for two major department store beauty brands, this was drilled into my head during trainings. Then I learned that skin regenerates by shedding dead skin cells and pushing new ones to the surface. I though, "I want new skin cells!"
After using the cleansing grains daily for almost two years, I'm happy to report that I can exfoliate every day and my skin is clearer and fresher than ever. It has also been less sensitive. I'm not sure if that's from switching to mostly all-natural products or from the daily gentle exfoliation, but this recipe covers both scenarios.
Experimenting helped me create my perfect cleansing grain recipe. I hope you share your recipes or variations of this recipe in the comments below!


